开发一个MCP协议客户端
MCP并不局限于Claude桌面,它可以用任何支持它的其他LLM客户端使用。考虑到这一点,我们决定构建一个MCP CLI客户端来展示这一点。这个MCP客户端可以更快速地测试MCP服务器。
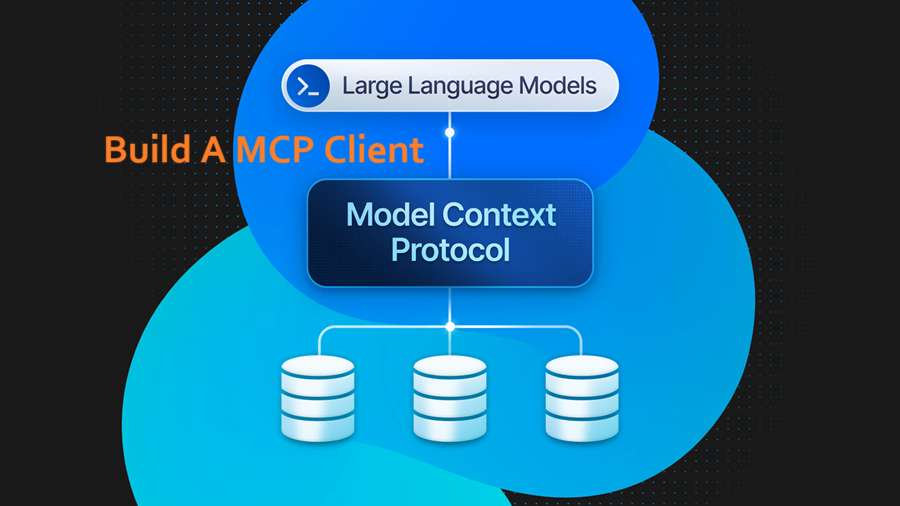
模型上下文协议(MCP)在AI领域持续获得关注,自从Neon MCP服务器发布以来(大约两周前),社区已经在广泛的领域内构建了数十个这些服务器[链接]。然而,Claude桌面应用程序已经成为默认的MCP客户端,大多数服务器都有专门的说明来指导如何与该客户端集成。
但MCP并不局限于Claude桌面,它可以用任何支持它的其他LLM客户端使用。考虑到这一点,我们决定构建一个MCP CLI客户端来展示这一点。这个MCP客户端可以更快速地测试MCP服务器。
1、如何构建MCP客户端
所有MCP客户端都基于相同的原理并遵循相同的协议。对于工具使用(我们的用例),需要实现的主要概念如下:
1.1 MCP服务器连接
第一步是连接到MCP服务器,以便它可以发现和使用服务器上的工具。
const mcpClient = new Client(
  { name: 'cli-client', version: '1.0.0' },
  { capabilities: {} },
);

// 此函数将MCP客户端连接到MCP服务器
await mcpClient.connect(new StdioClientTransport(serverConfig));
1.2 工具列表
我们需要从MCP服务器获取可用工具。这允许LLM知道在交互过程中可以使用哪些工具
// 此函数将返回MCP服务器上可用工具的列表
const toolsAvailable = await this.mcpClient.request(
  { method: 'tools/list' },
  ListToolsResultSchema,
);
1.3 工具使用
一旦LLM决定使用哪个工具,我们需要调用MCP服务器上的工具处理程序。
// 此函数将在MCP服务器上调用工具处理程序
const toolResult = await this.mcpClient.request(
  {
    method: 'tools/call',
    params: {
      name: toolName,
      arguments: toolArgs,
    },
  },
  CallToolResultSchema,
);
1.4 LLM集成
这是一个多步骤的过程,将LLM连接到可用工具:
- 向LLM发送初始提示
- 等待LLM响应工具使用
- 在MCP服务器上调用工具处理程序
- 将工具结果注入LLM的上下文中
- 向LLM发送下一个提示
由于我们正在使用来自Anthropic API的工具API,如果仅仅依赖他们的官方SDK,则会简单得多。
// 1- 发送初始提示
const response = await this.anthropicClient.messages.create({
  messages: [
    {
      role: 'user',
      content: 'Can you list my Neon projects?',
    },
  ],
  model: 'claude-3-5-sonnet-20241022',
  max_tokens: 8192,
  tools: this.tools,
});

for (const content of response.content) {
	// 2- 等待LLM响应工具使用
  if (content.type === 'tool_use') {
    const toolName = content.name;
    const toolArgs = content.input;
    // 3- 在MCP服务器上调用工具处理程序
    const toolResult = await this.mcpClient.request(
      {
        method: 'tools/call',
        params: {
          name: toolName,
          arguments: toolArgs,
        },
      },
      CallToolResultSchema,
    );

    // 4- 将工具结果注入LLM的上下文中
    const contextWithToolResult = [
        ...previousMessages,
        { role: 'user', content: toolResult.content },
     ];

		// 5- 向LLM发送下一个提示
    const nextResponse = await this.anthropicClient.messages.create({
      messages: contextWithToolResult,
      model: 'claude-3-5-sonnet-20241022',
      max_tokens: 8192,
    });
  }
}
2、构建CLI客户端
一旦我们有了所有核心组件,我们只需要构建一个酷炫的CLI客户端,可以用来与MCP服务器交互。
2.1 LLM处理
处理LLM消息和工具使用。重要的是我们要在每次交互之间保留消息,以便可以将工具结果注入LLM的上下文中。
private async processQuery(query: string) {
  try {
    // 1 - 向LLM发送用户的查询
    this.messages.push({ role: 'user', content: query });
    const response = await this.anthropicClient.messages.create({
      messages: this.messages,
      model: 'claude-3-5-sonnet-20241022',
      tools: this.tools,
    });

    // 2 - 处理LLM响应
    for (const content of response.content) {
      if (content.type === 'text') {
        process.stdout.write(content.text);
      }

      // 3 - 处理工具使用
      if (content.type === 'tool_use') {
        const toolResult = await this.mcpClient.request({
          method: 'tools/call',
          params: {
            name: content.name,
            arguments: content.input,
          }
        });

        // 4 - 将工具结果添加到对话中
        this.messages.push({
          role: 'user',
          content: JSON.stringify(toolResult)
        });

        // 5 - 获取LLM对工具结果的响应
        const nextResponse = await this.anthropicClient.messages.create({
          messages: this.messages,
          model: 'claude-3-5-sonnet-20241022'
        });

        // 6 - 显示LLM的响应
        if (nextResponse.content[0].type === 'text') {
          process.stdout.write(nextResponse.content[0].text);
        }
      }
    }
  } catch (error) {
    console.error('Error during query processing:', error);
  }
}
2.2 聊天循环
创建一个聊天循环,用于向LLM发送消息并处理响应。
private async chat_loop() {
    while (true) {
      try {
        const query = (await this.rl.question(styles.prompt)).trim();
        // 处理查询
        await this.processQuery(query);
      } catch (error) {
        console.error(styles.error('\\\\nError:'), error);
      }
    }
}
2.3 入口点
设置客户端的主入口点,初始化MCP客户端,获取工具并启动聊天循环
// 这是客户端的主入口点
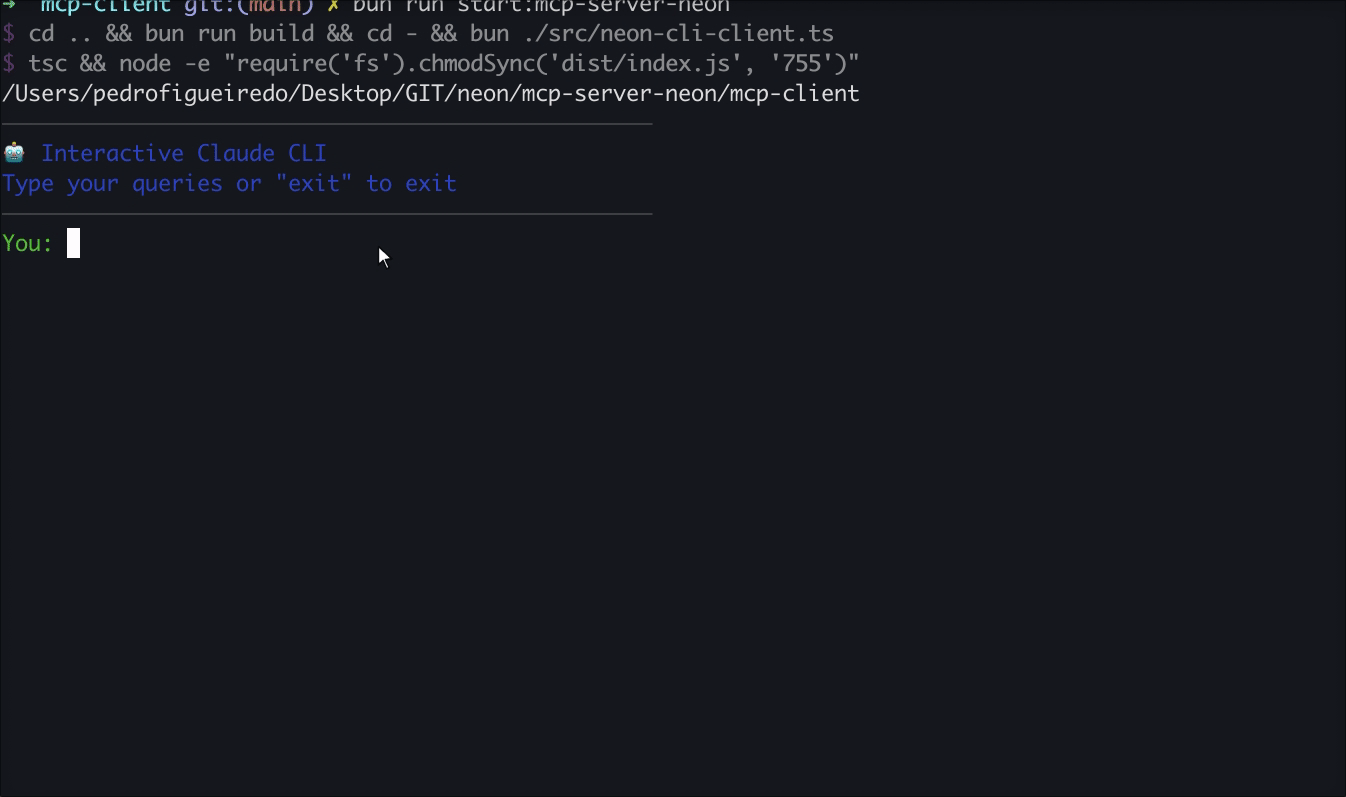
async start() {
try {
console.log(styles.info('🤖 Interactive Claude CLI'));
console.log(
styles.info(`Type your queries or "${EXIT_COMMAND}" to exit`),
);
// 1 - 将MCP客户端连接到MCP服务器
await this.mcpClient.connect(this.transport);
// 2 - 获取MCP服务器上可用的工具
await this.initMCPTools();
// 3 - 启动聊天循环
await this.chat_loop();
} catch (error) {
console.error(styles.error('Failed to initialize tools:'), error);
process.exit(1);
} finally {
this.rl.close();
process.exit(0);
}
}
2.4 运行
现在我们已经构建了一个通用的MCP客户端,可以通过传递MCP服务器URL和其他所需参数来运行它。
const cli = new InteractiveCLI({
  command: '../dist/index.js',
  args: ['start', process.env.NEON_API_KEY!],
});
cli.start();
2.5 改进
这个简单实现有两个主要缺点:
- 流式传输:这个客户端不支持流式传输,因此从用户角度来看,响应可能会显得慢一些。
- 多次工具调用:这个客户端不会跟进多次工具调用,它总是在第一次工具调用后停止。
幸运的是,这两个问题已经在我们在Neon构建的MCP客户端CLI中得到了解决。
3、结束语
使用此工具与任何MCP服务器一起查看其工作方式,或将其作为基础来构建自己的MCP客户端。您可以查看我们的GitHub 仓库,并在我们的Discord服务器上提供反馈!
原文链接:Building a CLI Client For Model Context Protocol Servers
汇智网翻译整理,转载请标明出处